DIY Mini Laser Engraver: A Affordable Tool for Precision Engraving
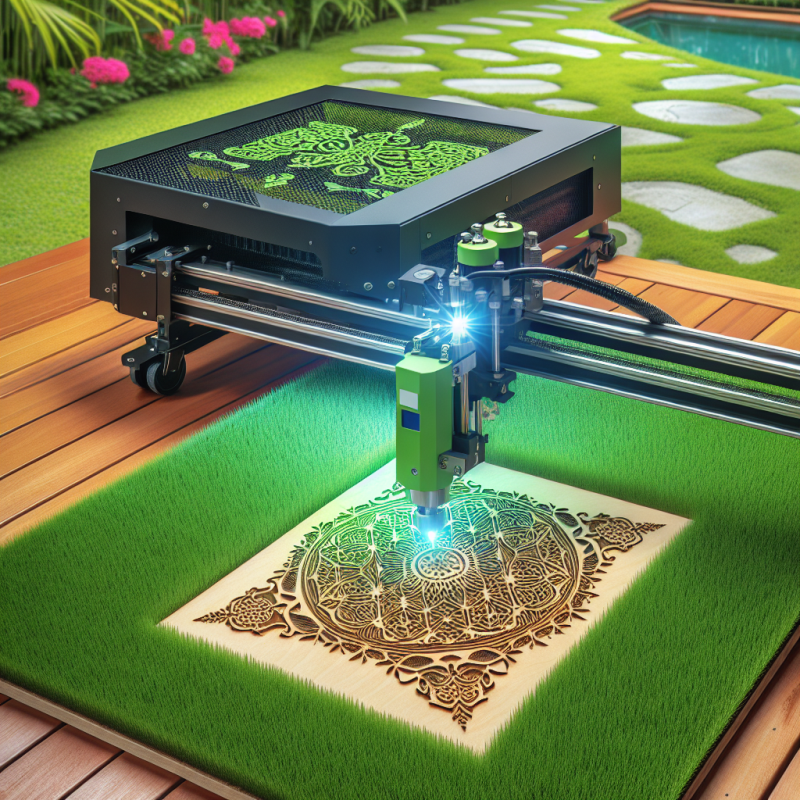
Laser engraving has become an increasingly popular hobby and professional tool in recent years. With the rise of affordable DIY mini laser engravers, enthusiasts can now create intricate designs, etch patterns, and personalize items without needing expensive industrial-grade equipment. Among the many options available, the diy mini laser engraver cheap stands out as a top choice for those looking to dip their toes into this fascinating craft. In this article, we’ll explore why this tool is worth considering, its features, and how you can get started with laser engraving on a budget.
Why Choose a DIY Mini Laser Engraver?
If you’re new to laser engraving, you might be wondering: What makes a DIY mini laser engraver different from other tools? The answer lies in its versatility and accessibility. Unlike large industrial machines that require significant space and investment, a mini laser engraver is compact, easy to use, and affordable. This makes it an excellent option for hobbyists, crafters, and even small businesses looking to add a personal touch to their products.
One of the key advantages of this tool is its ability to work with various materials, including wood, metal, plastic, and leather. Whether you’re creating custom jewelry tags, decorative items, or personalized gifts, a DIY mini laser engraver offers precision and flexibility. Plus, it’s an excellent way to upcycle old items or add a unique flair to everyday objects.
Features of the DIY Mini Laser Engraver
The diy mini laser engraver cheap comes packed with features that make it a standout choice for beginners and experienced users alike. Let’s take a closer look:
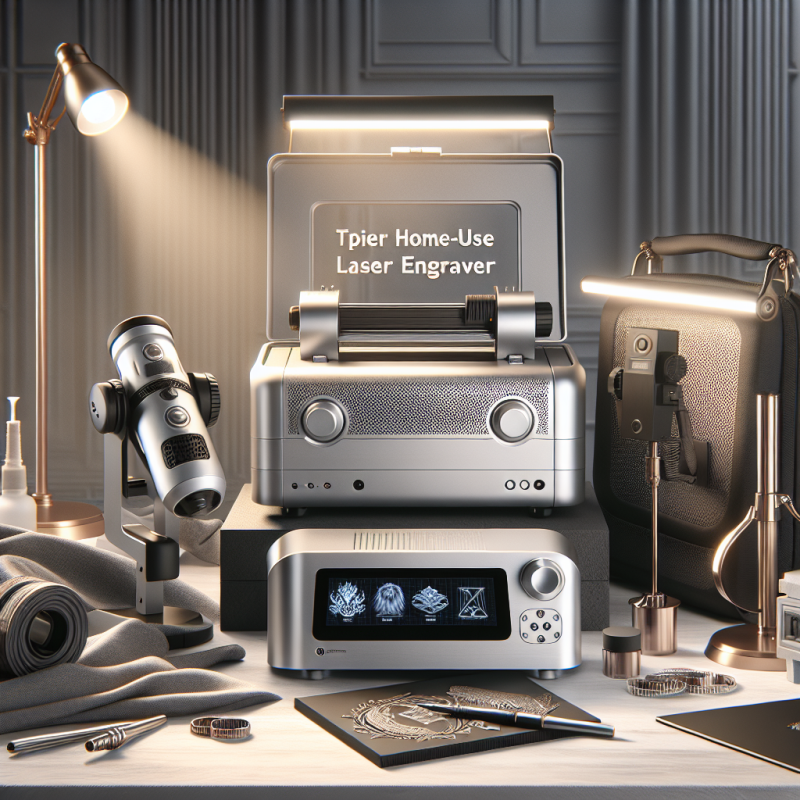
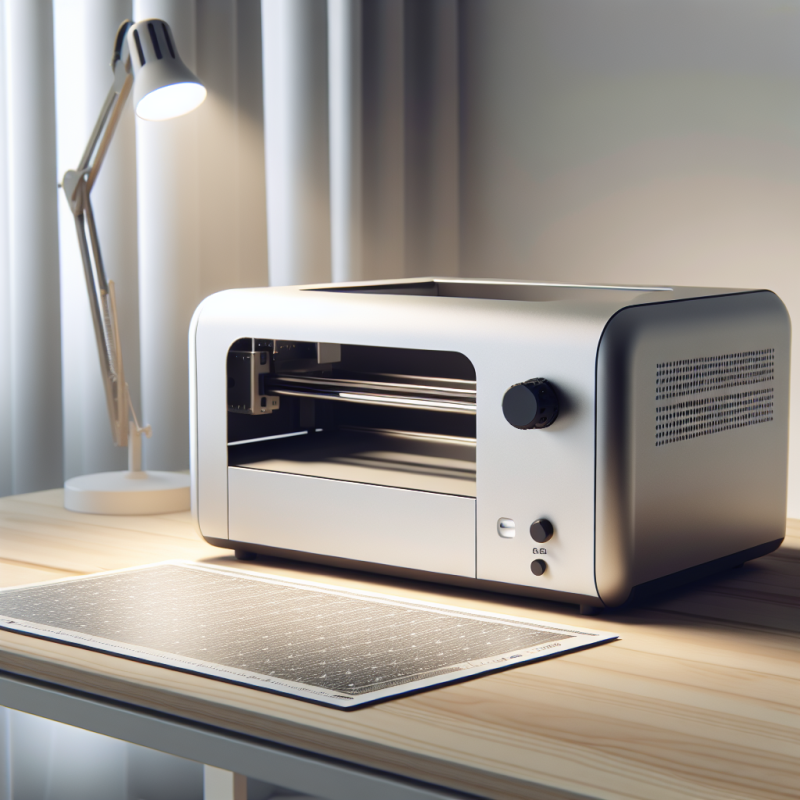
- Compact Design: Its small footprint makes it ideal for home use, fitting easily on a desk or workbench.
- Precision Engraving: With adjustable laser power settings, you can achieve detailed and accurate engravings regardless of the material.
- User-Friendly Interface: The intuitive controls make it easy to set up and operate, even for those with little experience.
- Versatile Material Compatibility: Works seamlessly with wood, metal, plastic, and more, giving you endless creative possibilities.
- Built-In Safety Features: Includes safety mechanisms to protect users and ensure safe operation.
These features not only enhance the user experience but also make the tool a long-term investment for your DIY projects. Whether you’re engraving small items or larger surfaces, this machine is built to handle it all with ease.
Getting Started: Setting Up Your DIY Mini Laser Engraver
Before diving into your first project, it’s essential to set up your DIY mini laser engraver properly. Here’s a step-by-step guide to get you started:
- Unboxing and Assembly: Carefully unpack the machine and assemble any additional components as per the instructions provided.
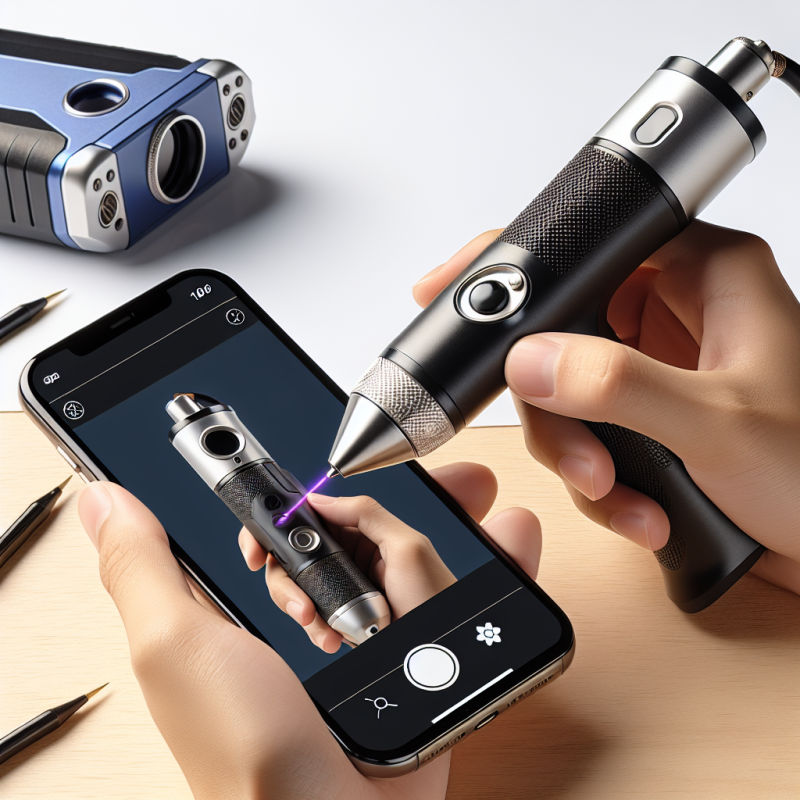
- Software Installation: Install the accompanying software on your computer. This is where you’ll design your engravings or select pre-made templates.
- Familiarize Yourself with Controls: Spend some time understanding the machine’s controls and safety features to ensure smooth operation.
- Select Your Material: Choose the material you want to engrave. Ensure it’s clean and properly secured in place to avoid movement during engraving.
- Test Run: Start with a small test piece to adjust settings like laser power and speed, ensuring optimal results before committing to your final project.
By following these steps, you’ll be ready to create stunning engravings in no time. Remember, practice makes perfect—don’t hesitate to experiment with different materials and designs to hone your skills.
Materials You Can Engrave with Your DIY Mini Laser Engraver
One of the greatest advantages of a DIY mini laser engraver is its versatility. Here are some popular materials you can work with:
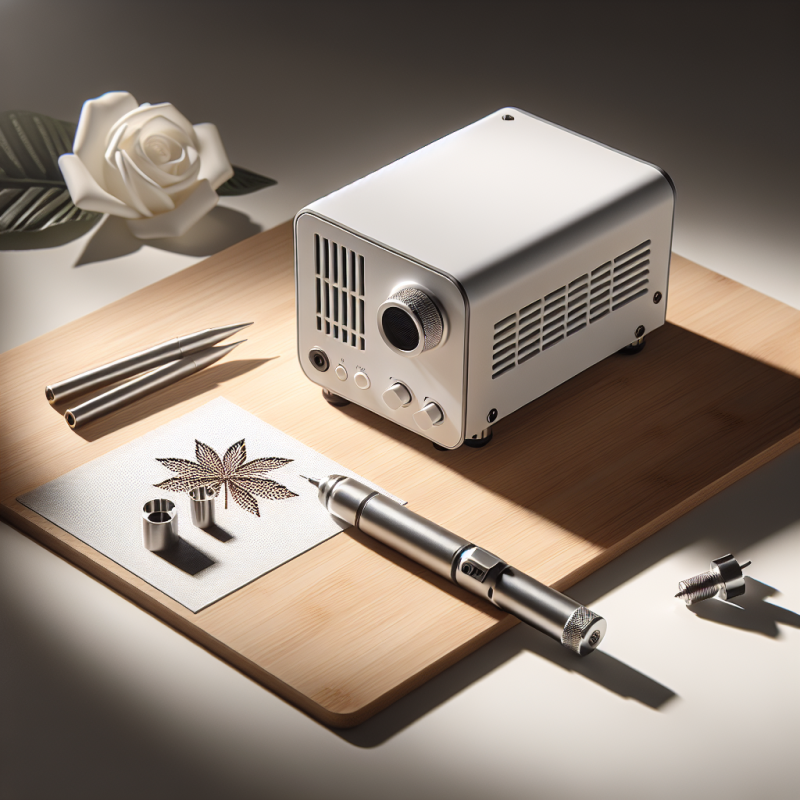
- Wood: Ideal for creating decorative items, furniture accents, and personalized gifts.
- Metal: Perfect for etching names, dates, or designs on jewelry, tools, and other metal surfaces.
- Plastic: Great for customizing phone cases, keychains, and other plastic items.
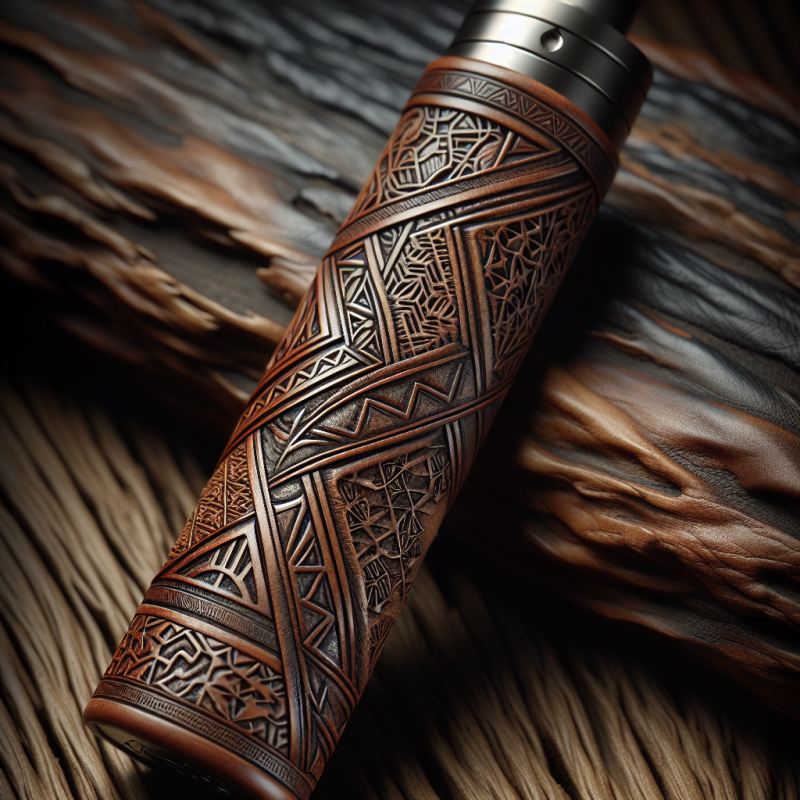
- Leather: Adds a unique touch to wallets, belts, and leather goods.
Each material requires slightly different settings, so it’s essential to research or consult the user manual for optimal results. With practice, you’ll master the art of laser engraving on various surfaces, opening up endless creative possibilities.
Safety Tips for Using Your DIY Mini Laser Engraver
While laser engravers are generally safe when used correctly, it’s crucial to follow these safety guidelines:
- Always Wear Protective Eyewear: The laser beam emits bright light that can be harmful if exposed directly.
- Ensure Proper Ventilation: Work in a well-ventilated area, especially when engraving materials like wood or plastic, which release fumes during the process.
- Keep Laser Head Clean: Regularly clean the laser head to prevent dust buildup and ensure optimal performance.
- Avoid Direct Skin Contact with the Laser Beam: Never point the laser at your skin or eyes, even for a brief moment.
By prioritizing safety, you can enjoy using your DIY mini laser engraver without any risks. Remember to always follow the manufacturer’s instructions and guidelines for safe operation.
Tips for Achieving Perfect Engravings
To get the best results from your DIY mini laser engraver, keep these tips in mind:
- Start with Lower Power Settings: Begin at a lower power level and gradually increase if needed. This prevents over-engraving, especially on delicate materials.
- Use High-Quality Templates or Designs: Invest in high-resolution templates to ensure your engravings are sharp and detailed.
- Practice on Scrap Material First: Experiment with different settings and designs on scrap material before working on your final project.
- Keep Your Work Area Clean: A clutter-free workspace reduces the risk of accidents and distractions while engraving.
By incorporating these tips into your workflow, you’ll be able to create professional-grade engravings that impress friends, family, and customers alike. Remember, the more you practice, the better you’ll become!
Maintenance Tips for Your DIY Mini Laser Engraver
To ensure your DIY mini laser engraver remains in top condition, regular maintenance is essential. Here are some tips to keep it running smoothly:
- Clean the Machine Regularly: Dust and debris can accumulate over time, so wipe down the machine after each use.
- Lubricate Moving Parts: Apply a small amount of lubricant to any moving components as specified in the user manual.
- Check for Software Updates: Keep your engraving software up-to-date to access new features and improvements.
- Store Properly When Not in Use: Cover the machine or store it in a protective case when not in use to prevent dust buildup.
A little maintenance goes a long way in extending the life of your engraver and ensuring consistent performance. Regular upkeep will also help you avoid costly repairs down the line.
Frequently Asked Questions About DIY Mini Laser Engravers
Before we wrap up, let’s address some common questions users have about DIY mini laser engravers:
- Q: Is a DIY laser engraver safe for home use?
A: Yes, as long as you follow safety guidelines and wear protective eyewear. It’s designed to be safe for both beginners and experienced users. - Q: Can I engrave on glass?
A: While some laser engravers can work with glass, it requires specialized settings and precautions. Check your machine’s specifications before attempting this. - Q: How long does a typical engraving project take?
A: This depends on the complexity of the design and the size of the material. Simple designs can be completed in minutes, while intricate patterns may take longer. - Q: Can I use it for commercial purposes?
A: Absolutely! Many small businesses use mini laser engravers to create custom products and add a personal touch to their offerings.
If you have more questions, don’t hesitate to consult the user manual or reach out to the manufacturer for support.
Final Thoughts
A DIY mini laser engraver is an incredible tool that opens up a world of creative possibilities. Whether you’re looking to start a hobby, enhance your craft projects, or even run a small business, this versatile machine has something for everyone. With its ease of use, affordability, and high-quality results, it’s no wonder why so many people are turning to laser engraving as their go-to crafting method.
Remember to always prioritize safety, practice on scrap material, and maintain your engraver regularly to get the best out of this fantastic tool. So, what are you waiting for? Get started with your very own DIY mini laser engraver today and let your creativity shine!
Final Answer
A DIY Mini Laser Engraver is an excellent tool for anyone looking to dive into creative crafting or even start a small business. It allows users to engrave on various materials, creating personalized designs with precision. Here’s a concise overview of the key points:
- Safety First: Always wear protective eyewear and work in a well-ventilated area.
- Versatility: Suitable for home use, hobbies, or commercial purposes, it can engrave on wood, metal, plastic, and more.
- Maintenance: Regular cleaning and lubrication ensure long-lasting performance.
- Tips for Success: Start with low power settings, use high-quality templates, and practice on scrap material before final projects.
Whether you’re a hobbyist or a small business owner, this tool is a fantastic investment for bringing your creative ideas to life.